Tips and Tricks for Achieving the Perfect Wood Finish or Stain on Your Furniture
Wood finishing brings out the true character of a piece, making it important for both hobbyists and professionals. The right finish can greatly impact the final look. Although it may seem daunting, with practice, you can achieve professional results. This guide for DIY enthusiasts and beginners provides essential knowledge to achieve the perfect finish for your woodworking projects.
Wood Finish vs Wood Stain
Wood stain and finish are often used interchangeably, but they serve two different purposes. Stains penetrate the wood to enhance or change its color while allowing the natural grain to show through. Finishes, on the other hand, create a protective layer on top of the wood to prevent damage from moisture and wear. Combining both can achieve an ideal look for your wooden furniture.
Understanding the Power of a Perfect Wood Finish
The process of wood finishing serves two primary purposes. Firstly, it is intended to protect the wood from damage, and secondly, it is designed to enhance its natural beauty. Applying a good quality painted finish is essential to ensure longevity and elevate the appearance of the wood from raw to refined. Before the application of the finish, proper preparation is crucial, which includes sanding, filling, and conditioning the wood.
Different Wood Types and Their Unique Affinity to Stains
Each type of wood has unique characteristics like grain patterns, density, and color. Understanding how woods react to stains and finishes is crucial for achieving the desired look. For example, maple and cherry have subtle grain patterns that may look blotchy with improper staining, while oak and mahogany have bold grains that can be enhanced with the right technique. Considering these details helps in selecting the best finishing materials and methods for your project.
Essential Tools and Materials for Professional Wood Finishes
To create a professional-looking wood finish, you’ll need the right tools and materials:
- Sandpaper in various grits for sanding the wood (start with coarse grit and work your way to fine)
- Wood putty or filler for repairing imperfections
- A good quality brush, applicator, or sprayer, depending on the finish
- Protective gear, such as gloves and a respirator
- Top-quality stains, dyes, or clear finishes
Preparing the Wood Surface for a Flawless Finish
The preparation of your wood’s surface cannot be overstated. The finish will only be as good as the foundation you provide. Here’s a step-by-step guide:
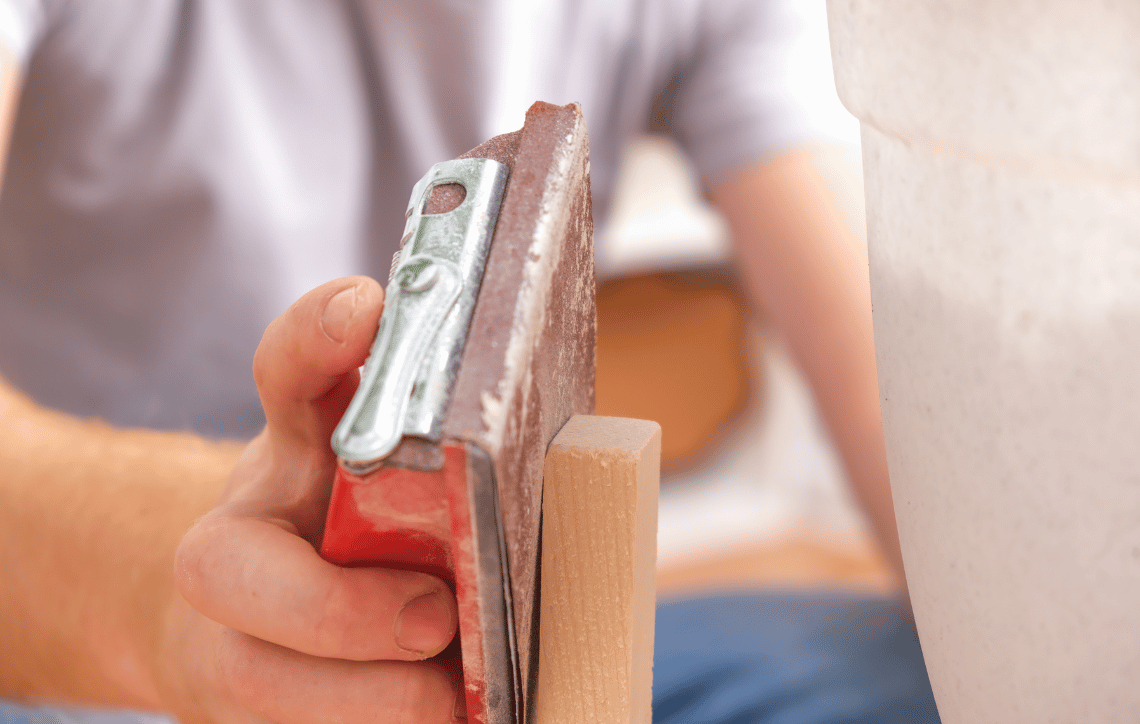
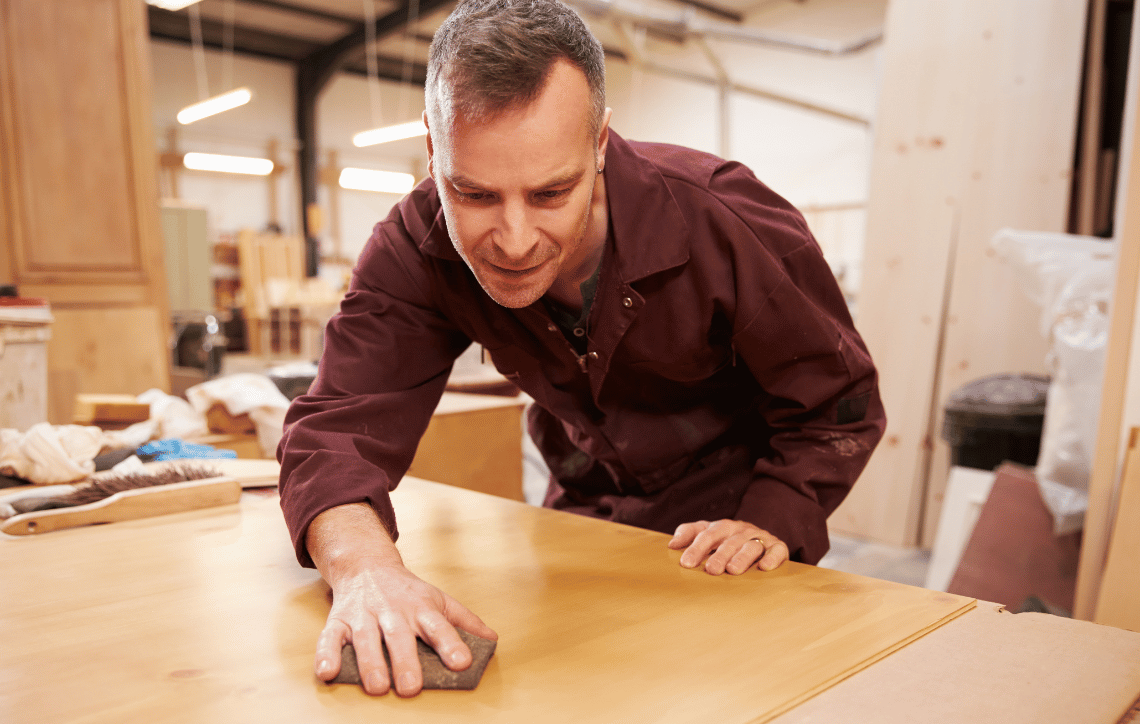
Sanding
Sand the wood with increasingly finer grits to achieve a smooth surface. Finish with a thorough sanding using fine grit just before applying the finish to prevent scratches or blemishes.
Filling
Use wood putty or filler to repair knots, cracks, or holes in the wood. Once dry, sand it down evenly for a seamless finish.
Conditioning
For woods that are prone to botching, like pine or alder, it’s crucial to condition the wood before staining. This step helps the wood to accept the stain more evenly.
Choosing the Right Stain or Finish for Your Project
Choosing the correct stain or finish is crucial in wood finishing. Options like clear lacquer, oil-based or water-based polyurethane, varnish, shellac, or a penetrating oil finish each have their advantages and drawbacks.
- Clear Lacquer: A durable and glossy finish suitable for indoor furniture and trim.
- Polyurethane: Provides a hard protective coating and is available in gloss, semi-gloss, and satin sheens.
- Varnish: Similar to polyurethane but may be yellow with age, giving the wood a warmer tone.
- Shellac: A quick-drying, natural finish that produces a warm and lustrous glow.
- Penetrating Oil Finish: Oils such as tung and linseed penetrate the wood for a natural, matte finish.
Application Techniques for a Polished Finish
How you apply the stain and finish is as important as the product you choose. The three primary techniques are brushing, wiping, and spraying.
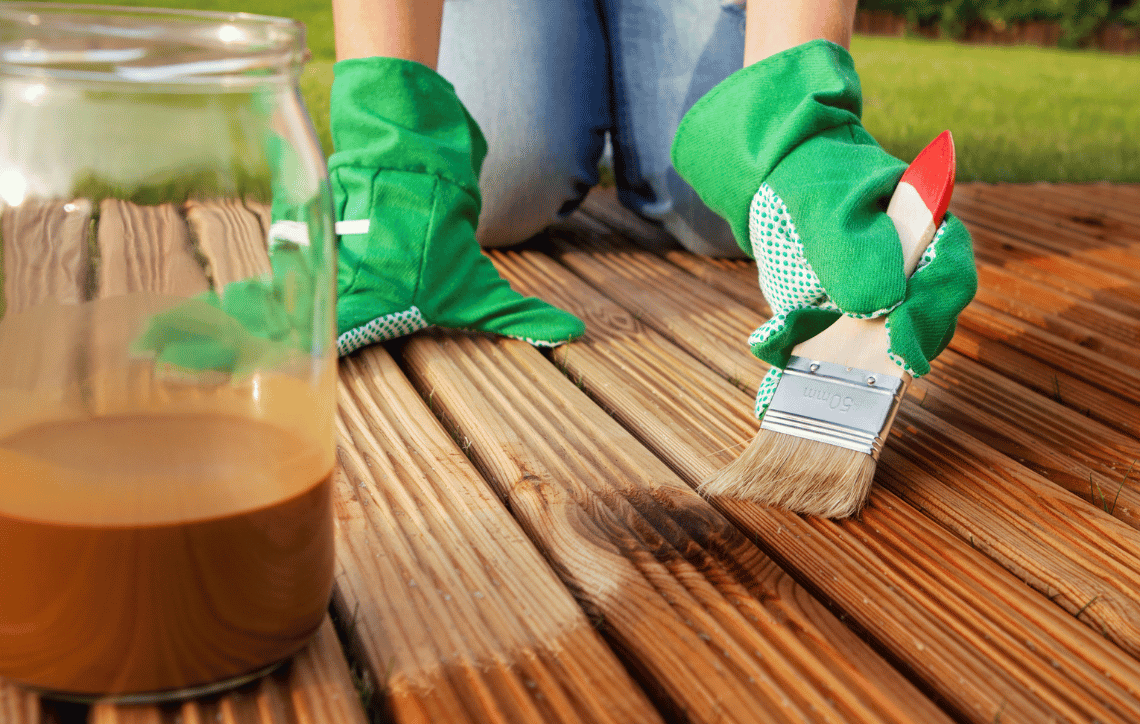
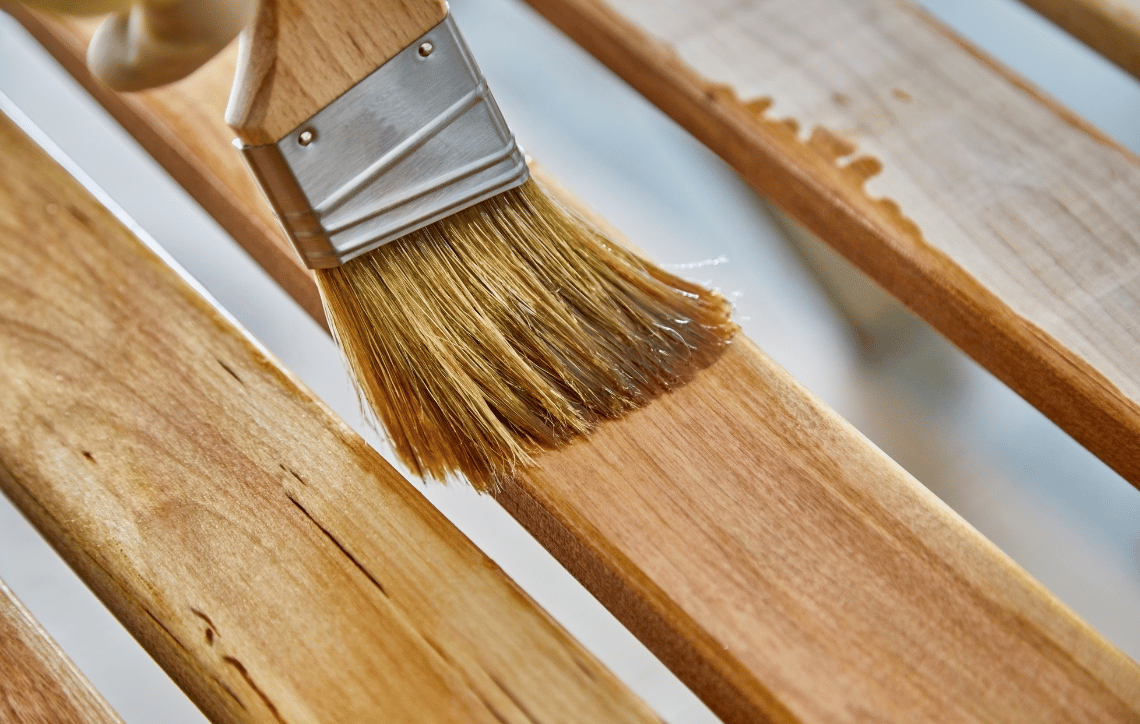
- Brushing: Use a high-quality brush and apply the finish with long, even strokes in the direction of the wood grain. This method offers control and typically results in a thicker and more even coat.
- Wiping: Apply the finish with a cloth or sponge, again moving with the grain. This method is excellent for achieving a lighter or more transparent finish.
- Spraying: An HVLP (high volume, low pressure) sprayer can provide a fast and even coat but requires skill to avoid over-application and runs.
Conclusion: Encouraging the Art of Woodworking and Endless Possibilities
Understanding wood nuances, choosing tools and finishes thoughtfully, and skillfully applying them transform wood into art. Whether aiming for a glossy piano finish or a rustic patina, these techniques bring your vision to life. With patience and practice, you too can achieve the perfect wood finish or stain on your furniture. Keep experimenting and enjoy the endless possibilities that come with working with wood.